Appliqued Hoodie Towel

Looking for a fun Christmas or birthday gift for a child? Then try appliqued hoodie towels! Anna, my three year old, always wants to use her little sister's hooded towels after bath time. However, the hoods on those are made of washcloths and did not get her hair dried very well. So I found a site that used a hand towel to make the hood. After I had made one, I had my seven year old try it out. It was plenty big for her, so I dedided to make one for each of my kiddos for Christmas this year. To see how to assemble the towel, check out this link: Hooded bath towel. You will need two bath towels and one hand towel to make two hooded towels.


I found these towels at Target. I used a solid color towel for the bath towel portion and a striped hand towel for the hood.
 |
Cut your hand towel in half.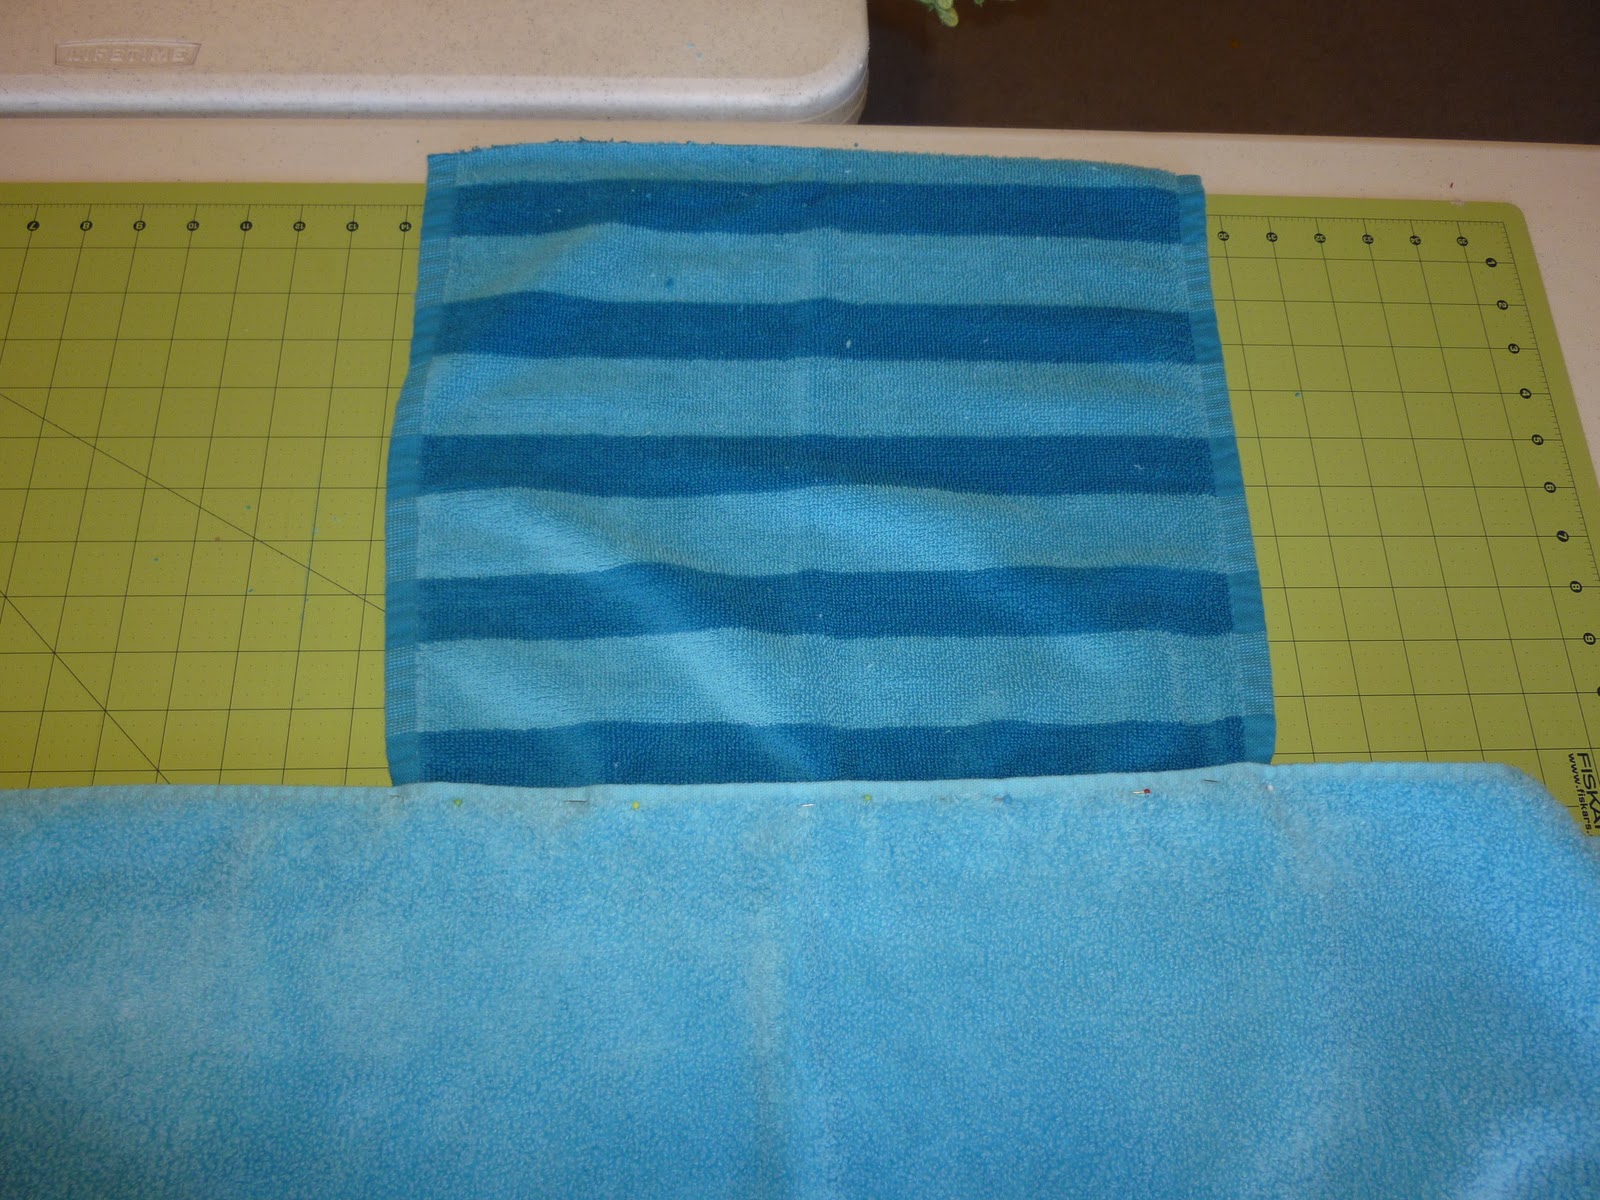
Center the hand towel on the bath towel with the raw edge upwards. You will be looking at the right side of each towel. I ended up putting the edge of the hand towel "inside" the edge of the bath towel. Then the seam is towards the child as he or she is using it. Sew with the bath towel up--be sure you catch the hand towel in the seam all the way across. One tip: I found that when I centered the hand towel exactly on the bath towel and then sewed, the hood did not end up centered because the hand towel would stretch slightly. So, I placed the hand towel about a half inch closer to the side I would start sewing on. This resulted in a reasonably well-centered hood. I have to remind myself, too, that my kids are not inspecting their things nearly this closely, and the towel will work regardless!
|

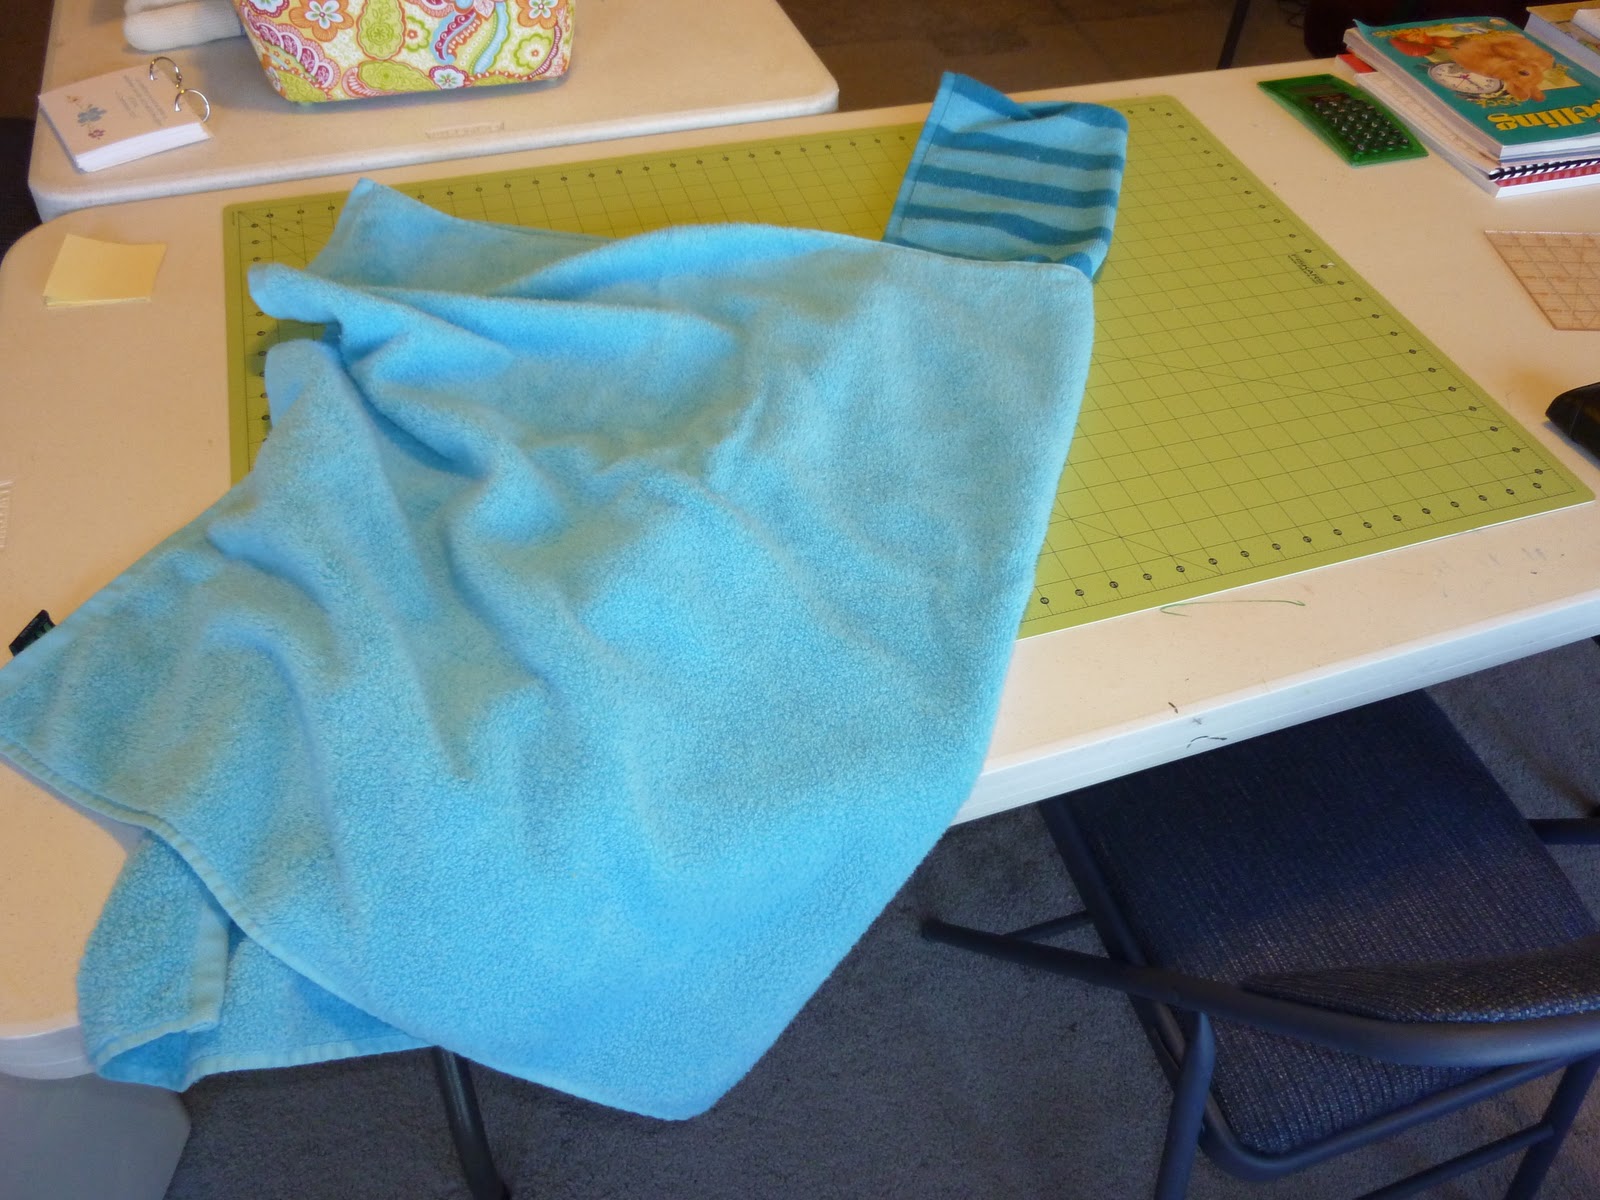
Now you have made a hooded towel. This would be a great place to stop for a quick gift. If you want to invest some more time and energy, then let's applique this bad boy!

I found a font that I liked and printed it out on cardstock. This is Kristen ITC, 350 font in bold. I print it outlined (find this option in your font selection on Microsoft Word) so that I don't use so much ink.

Cut out the letters. I found it helpful to place an "F" on the front side of each letter. Then I am sure to keep track of which side is which. I labeled a ziploc bag with the font used and stored the letters in there in case I want to make some more in the future. I also drew a frog and a flower on cardstock to use above each child's name.

Apply Wonder Under to your fabric. Trace the letter backwards (put the side with the "F" against the Wonder Under) and cut out.

Iron on to your towel. After doing this a couple of times, I made sure to use lots of pressure and ironed for a few seconds past the maximum time. This flattens the towel out and makes it easier to sew on. Now you can choose how you want to applique this on. I found one site the recommended a straight stitch about an eighth of an inch inside the fabric. The fabric sticking out then frays with use. Looking back, this would have been a much faster way to do it. I liked the look of a zig-zag stitch. Also, I had chosen some fabrics that were much the same color as my towels, and I needed the contrasting color of the thread to help the letters stand out. (More on that later!)


Here is Lyla's. The material that I used to make the letters was very similar to the color of the towel itself. This made it hard to see the edge as I was going around curves. If I had a contrasting material, I could use a thread that matched the material. Then my sewing mistakes might be a little less noticible. And whatever possessed me to do "Annabelle" instead of "Anna"?! I will post her towel picture when it is done. I ran out of thread! If you decide to zig zag, be sure you have plenty of thread if you are doing a nine letter name! All in all, I have been having lots of fun with this project. I hope you do, too!
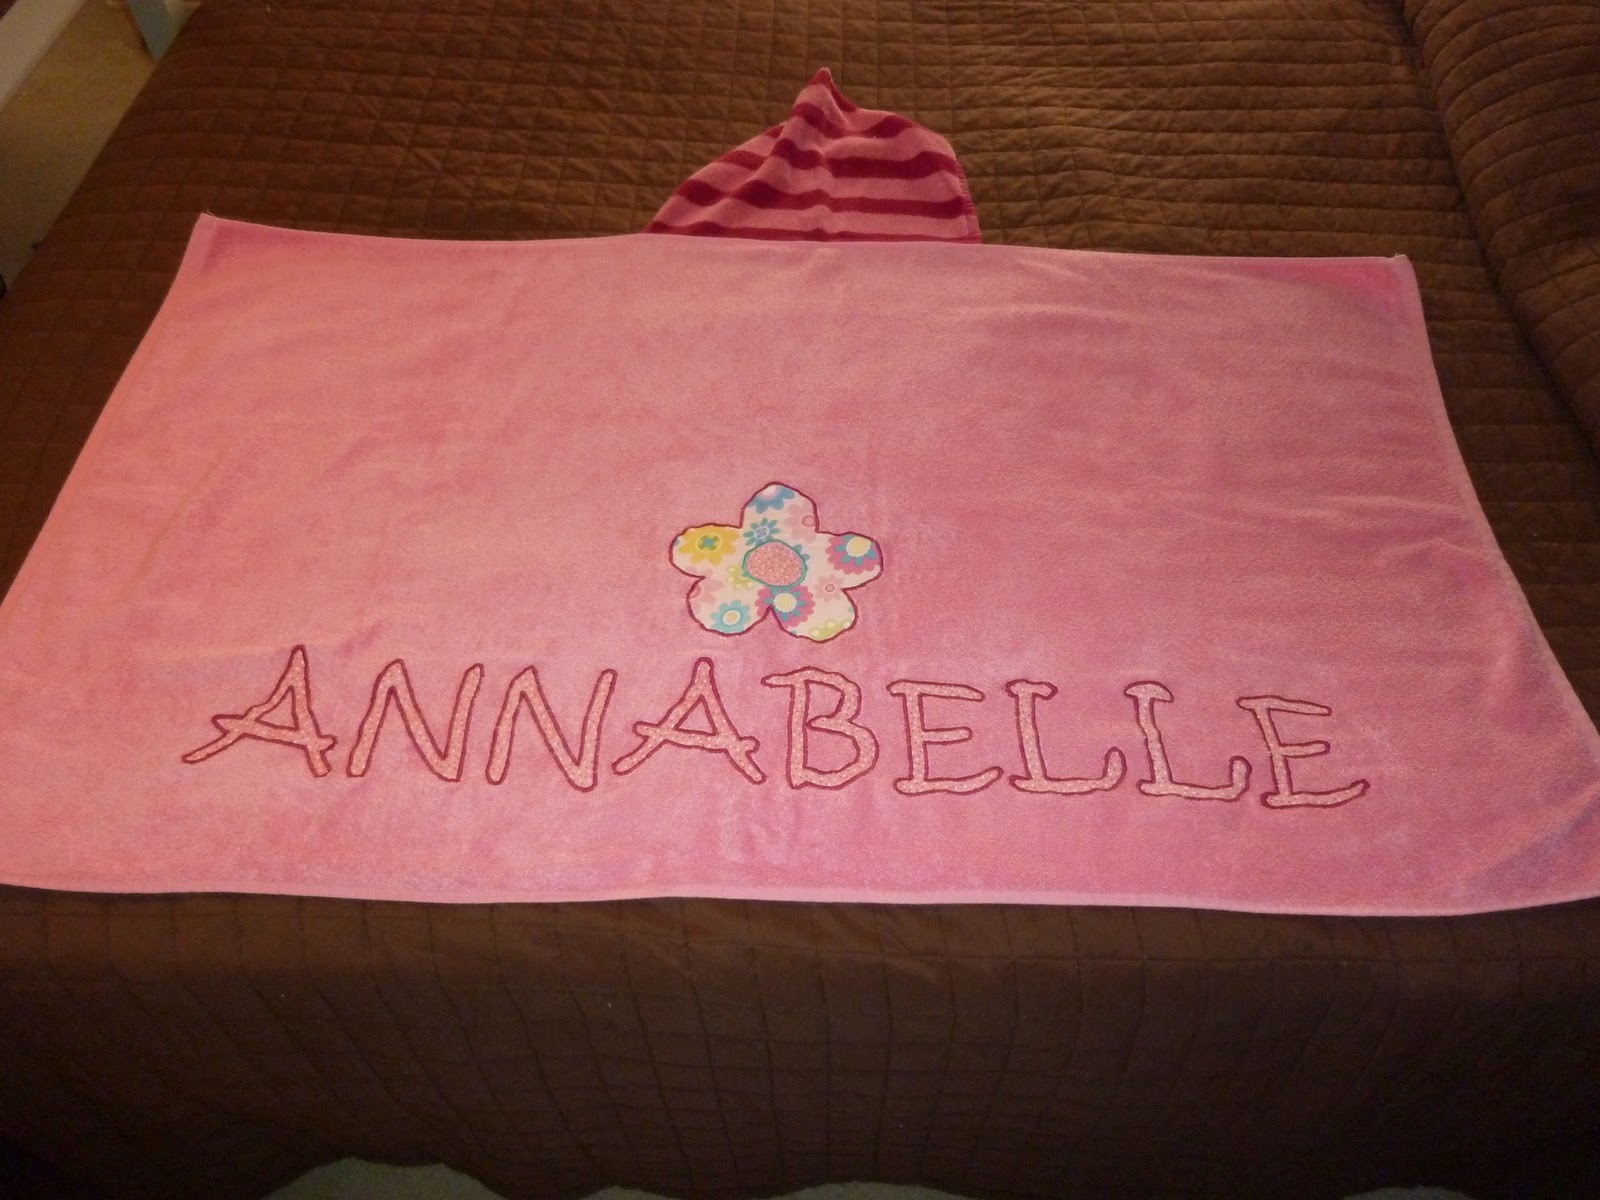
And here it is--the nine-letter name! I had finished the letters and had about a petal and a half to go on the flower when my bobbin thread ran out. I had a small amount of thread on the spool, definitely not enough to get more on the bobbin. I looked everywhere to find more of the right color thread and struck out! Finally, I had a brainstorm. It was not important to have the bobbin thread match exactly! So I loaded some similar-color pink into the bobbin and was able to just finish the flower with my thread. Then I used a different colored thread to do the middle of the flower. Another project in the gift bin--hooray!


VERY cool idea!!!! I love it! Kate is always wanting to use Kara's hooded towel. We now may have a fun project!! -Kristin
ReplyDelete