Posts

Showing posts from June, 2013

Apple Pie Pockets

Image
We are getting ready to make some harvest meals next week, which means that everything needs to be able to be eaten with one hand while operating machinery. One of my husband's favorite desserts is apple pie, so I wanted to make apple pie that could be eaten on the go. I combined a couple of recipes that I found on the web to come up with these tasty little treats. Here's the recipe: Apple Pie Pockets 1 recipe Aunt Joyce's Pie Crust 2 1/2 cups Granny Smith apples, peeled and finely chopped 1/3 cup sugar 1/2 teaspoons cinnamon 1/8 teaspoon nutmeg 1 tablespoon flour Approximately 2 tablespoons butter 1 egg white, beaten 2 tablespoons water cinnamon sugar While you are waiting for the oil and water to cool for the pie crust, mix sugar, spices, and flour together in a bowl. Add apples and mix well. Roll out dough between wax paper and cut out circles of dough. I used a plastic container that was nearly five inches in diameter to cut mine out.   I put

Etched Cookie Jar

Image
Okay, I admit it.  I'm not very good at taking pretty pictures!  I see all these beautiful blogs with pretty pictures with everything "just so," and I sigh and think, "I wish my pictures looked like that!"  Often I am trying to take my pictures with my cell phone with a baby wiggling in the front pack.  I'm lucky to simply get my picture in focus, let alone set up a neat background!  So, I apologize for the not-so-pretty picture.  However, I didn't want to let it stop me from sharing this great project. I made this as a graduation gift for a sweet girl who graduated from high school this year.  (And, yes, I know I'm a little late with my gift.  I figure better late than never!) I bought the glass cookie jar from Walmart.  I used the same technique to etch the jar as in my  Powercat Etched Glass Dish Tutorial .  I found the flower clip art  here  and used  Janda Apple Cobbler Font , which is one of my new favorites.  I left the etch on for ab

Funfetti Cake Batter Cookies

Image
I found this recipe on Six Sisters' Stuff.  I love their blog!  I have probably made at least two dozen of their recipes, if not more.  Not to mention the massive amount of ideas/recipes from them that I have on my Pinterest Boards!  I love this recipe because you don't have to run the mixer--it just stirs up easily.  (aka, we can whip these out during nap time without making too much noise!)  Plus they are just so fun!  You could easily add seasonal sprinkles to fit any holiday you could imagine.  Anna, my five year old, was pretty excited to show Daddy the cookies that she made "all by herself"! Here's the recipe (modified slightly from here .) Funfetti Cake Batter Cookies 1 box, 18.25 ounces, Funfetti Cake Mix 1 teaspoon baking powder 2 eggs 1/2 cup canola oil 1 cup white chocolate chips (chocolate chips are also delicious in these!) 1/2 cup sprinkles Preheat oven to 350 degrees.  Place cake mix in large bowl.  Stir in baking powder.  Add

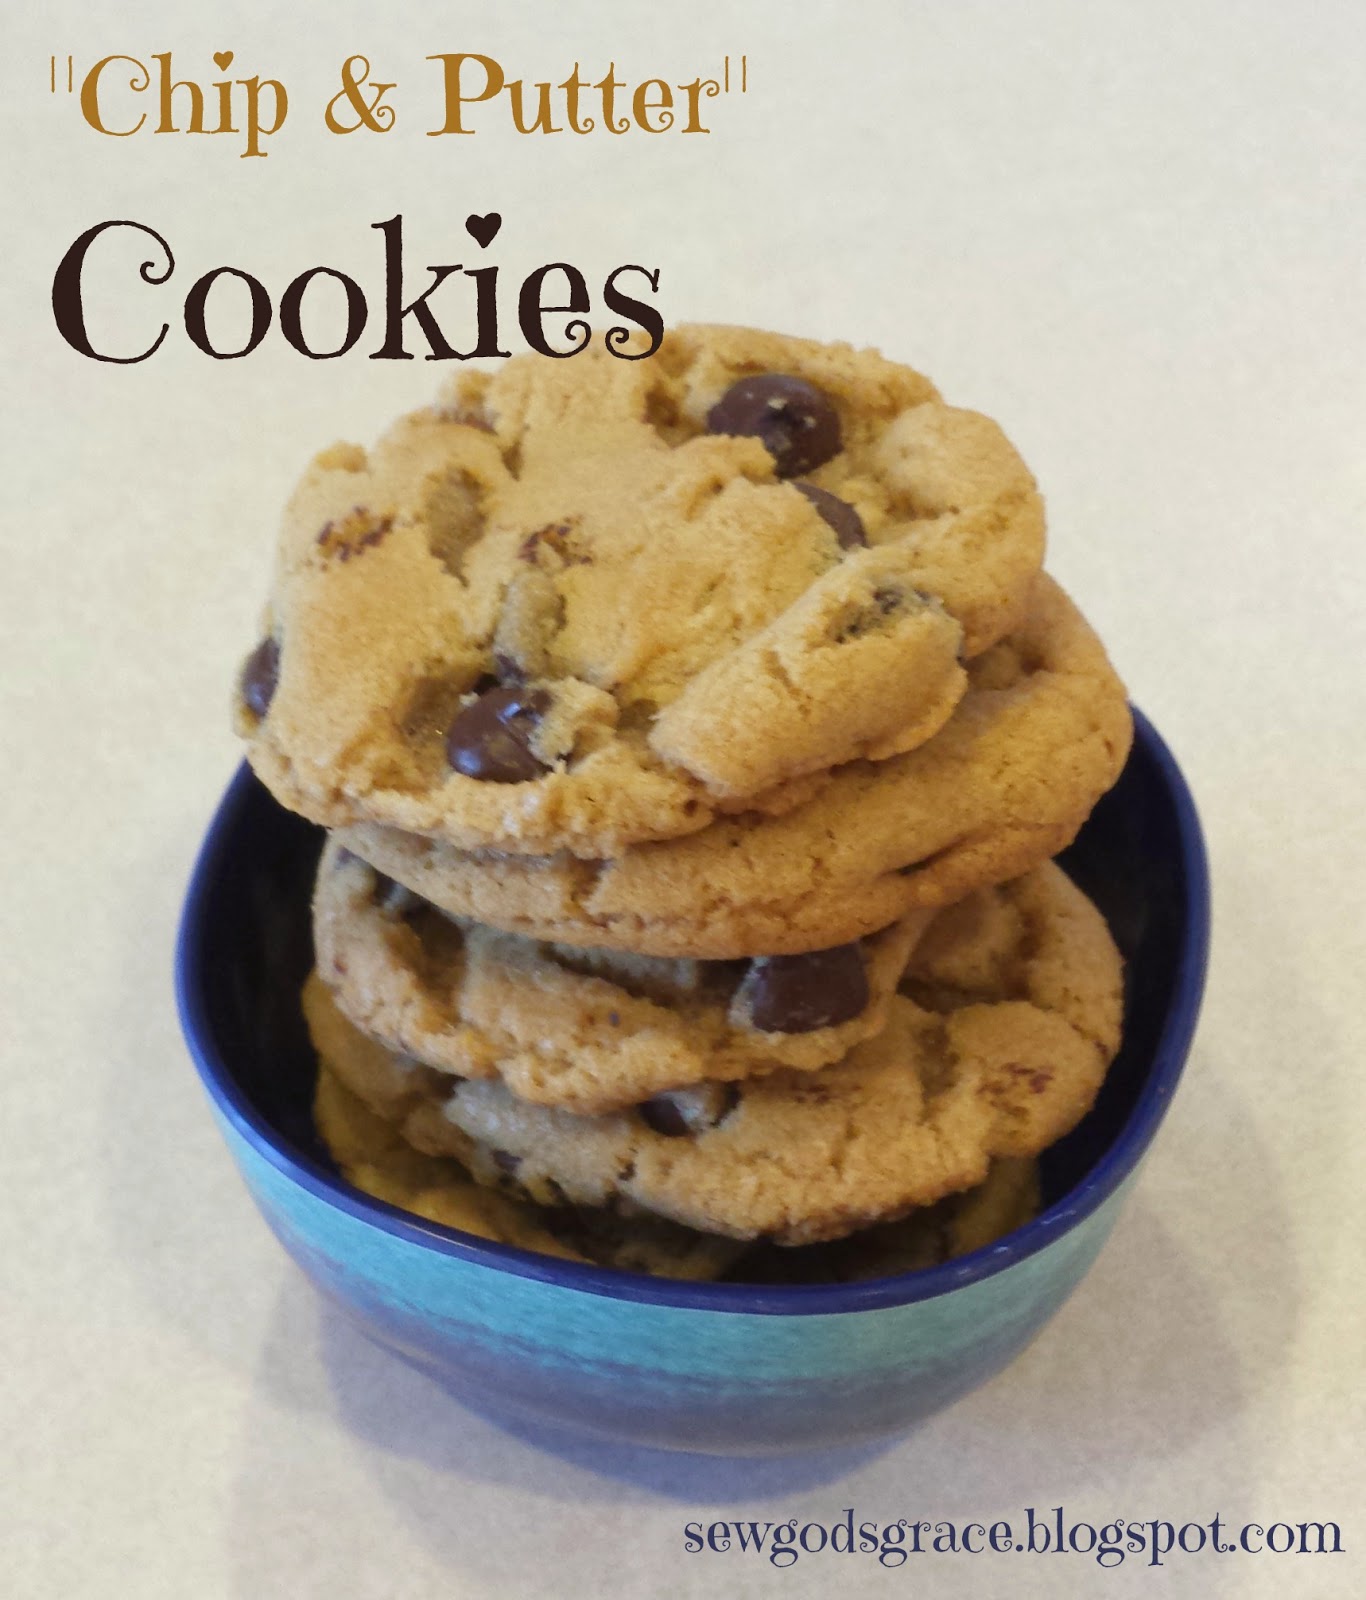
"Chip & Putter" Cookies (Peanut Butter Chocolate Chip Cookies)

Image
I was discussing cookie recipes recently with a friend, and she mentioned that Chip & Putter Cookies were one of her family's favorites.  I, of course, requested the recipe.  I mean, what a great name!  So she graciously shared the recipe for these delicious peanut butter and chocolate chip cookies. "Chip & Putter" Cookies (Peanut Butter Chocolate Chip Cookies) 2 1/2 cups flour 1 teaspoon baking soda 1/2 teaspoon salt 3/4 cup butter, softened 1/2 cup peanut butter 1 cup sugar 1 cup brown sugar 2 eggs 2 teaspoons vanilla 12 ounce dark chocolate chips (or any flavor chocolate chips that you like!) Stir flour, baking soda, and salt together in a large bowl.  Beat butter and sugars until light and fluffy.  Add eggs and vanilla and mix well.  Blend in flour mixture.  Stir in chocolate chips.  Cover and refrigerate dough for at least three hours or overnight.  Shape into large balls (around two tablespoons) and place on parchment paper on air-bak

Anna's Fifth Birthday

Image
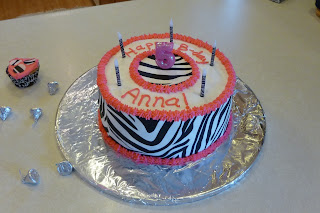
I can't believe that Anna is five already!  I know I say it every year, but where does the time go?  Somehow, when they hit five, they seem so much older than four.  I mean, it's going to be time for kindergarten! For this cake, I made the inside to look like zebra stripes.  You can find the tutorial here .  Then I simply frosted it with white buttercream frosting and put zebra-striped sugar paper around the sides.  (You can find sugar paper at Walmart.  I used my rotary cutter and ruler to cut it instead of buying the fancy tools in the cake aisle.  Then I used a glass as a template to cut a circle for the top of the cake.)  I piped on some pink stars and added a happy birthday wish, and I was done.  It only took my an hour to put together that morning!  I had used the extra batter from making to cakes to bake up a few cupcakes, so I iced those with pink frosting and used the leftover sugar paper to decorate them. Best of all, Anna really liked it! Happy birthda

Anna's Par-tea

Image
When I asked Anna what she would like to do to help celebrate her fifth birthday, she said that she wanted a tea party.  So, once school was out for the summer, that is what we did!  Though it's not my strong suit, I actually managed to do some decorating!  I found some great free printables online.  I used the banner and place cards for our guests.  You can find them  here.   I also made some  tissue paper flowers .  I was trying to figure out how to hang them without putting pushpins in our ceiling.  My husband and I came up with the idea of hanging them from the ceiling fan blades. I got out my good china and everything! When the girls arrived at 10:00 that morning, they all went downstairs to decorate foam crowns.  (I found them at Walmart in the kids' crafts section.) Then we came upstairs for tea! I've served my girls tea before.  I've put ice cubes in it so it won't be too hot and put in lots of honey--they still don't really like i