Posts

Showing posts with the label Applique

Bandana Skirt Set

Image
I have had the pictures for this post for quite a while, but I knew if was going to take me a long time to type it up.  I have made several of these outfits to sell at a craft fair and also for gifts, and I think they are so cute!  You can make them anywhere from a size 6 month up to about 4T.  I will try to make these instructions as clear as possible.  If you have any questions, please leave them for me in the comments, and I will try to explain the steps better! To start, you will need the following: 1.  Child's T-shirt in the size and color you want 2.  2 bandanas 3.  5.5 to 6.5 inches of border fabric 4.  3/4 inch elastic 5.  Wonder Under or Heat and bond light fusible webbing 6.   Totally Stable iron on stabilizer 7.  Optional but nice, " Over the Back Fusible Interlining " for the back of the applique 8.   Fray Check 9.  Basic sewing skills and tools, ie thread, rotary cutter, etc. All seams ar...
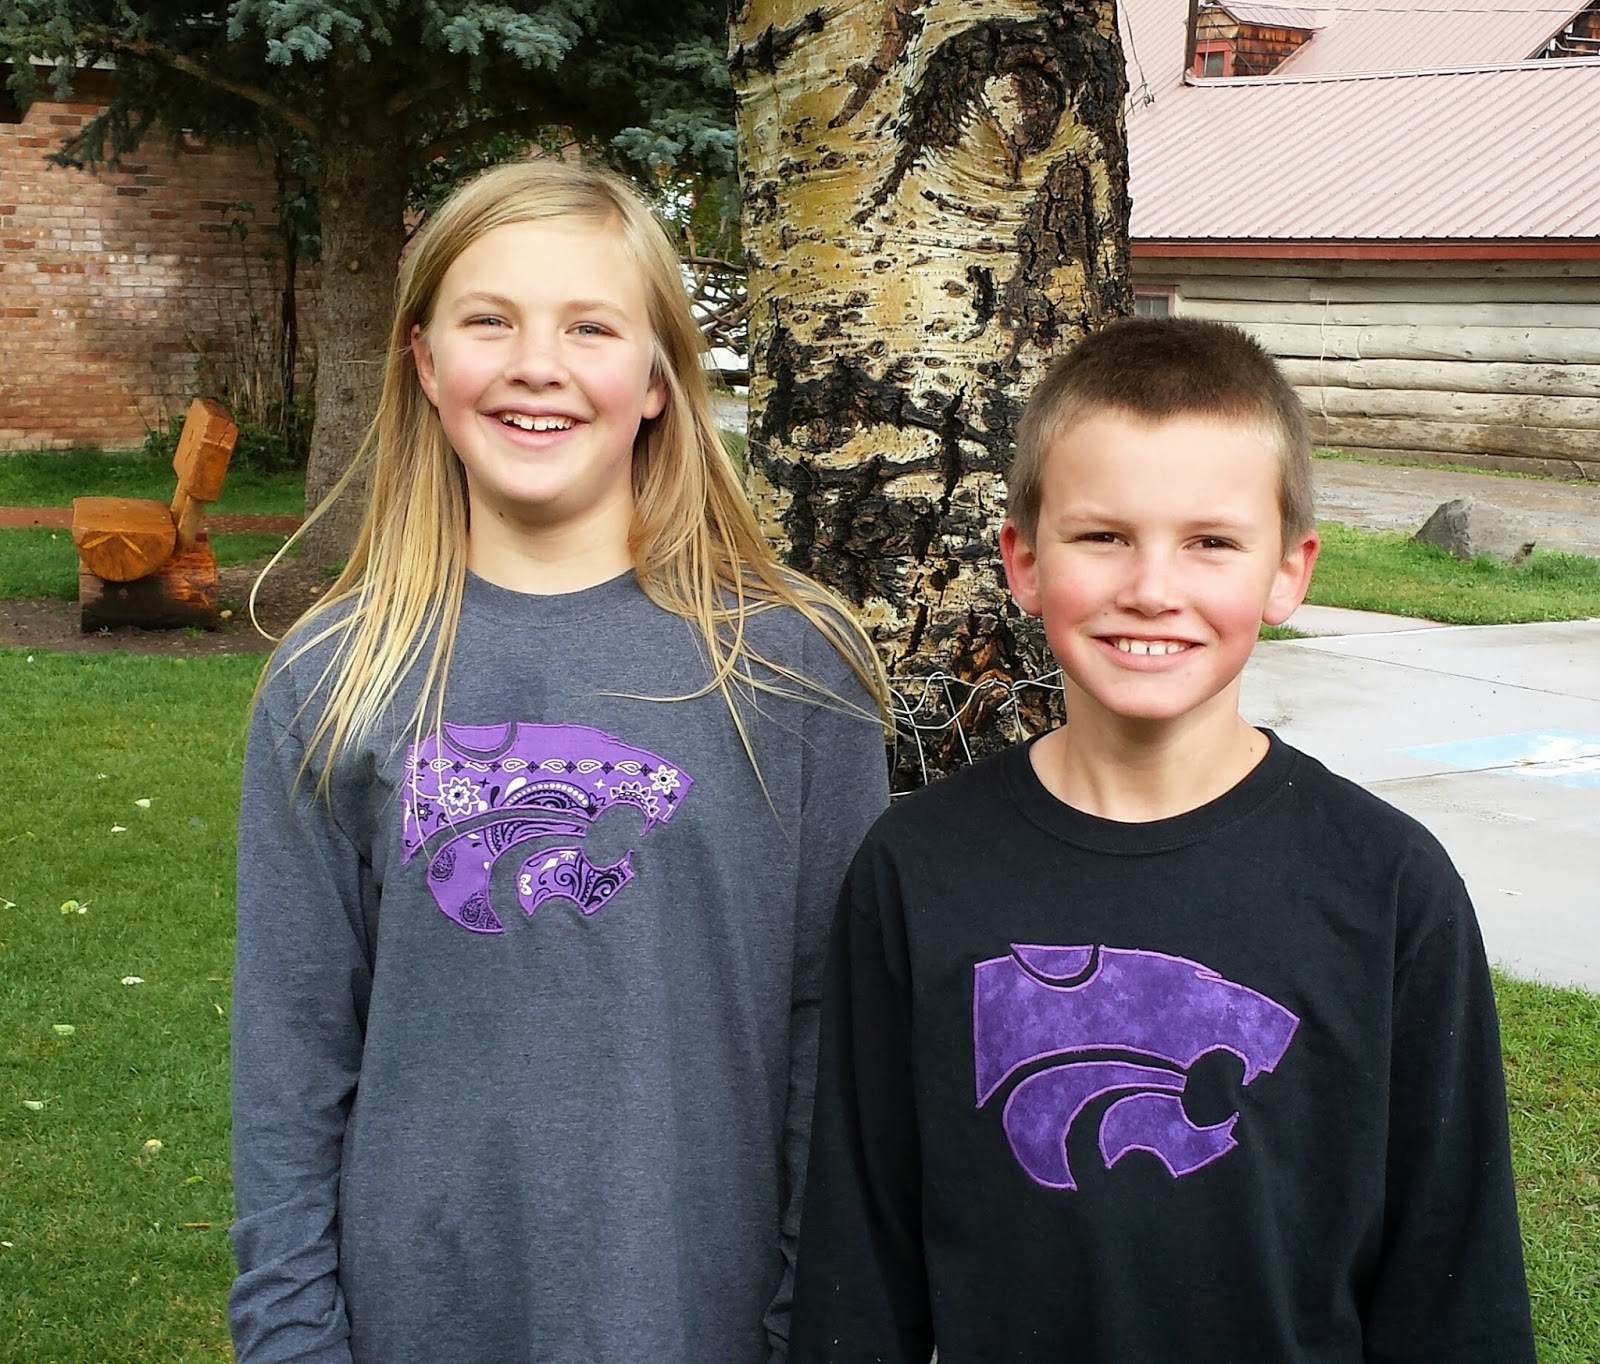
Powercat Appliqued T-shirts

Image
I was shopping for some new shirts for Maddie the other day, and we weren't finding a whole lot of interesting ones (or ones that had logos/sayings that I was comfortable with!). I finally just picked out a plain gray shirt and told her we would applique something onto it. She requested a powercat, and I was happy to comply. She really liked it, as did her brother Evan. So we made one for him, too! For more details on how to applique on a t-shirt, see this post . Then see this post for help on placing your powercat applique. I fold the t-shirt in half to find the center.  Be sure to use a ball point needle for knits. I've enjoyed making these with the kids because they are able to trace and cut out their patterns and even iron them in place. Makes for a pretty quick afternoon project!

Hello Kitty Hooded Towel

Image
I made this hooded towel for Lyla for Christmas.  I got my inspiration from Crazy Little Project 's animal hooded towels.  If you haven't seen this blog, you need to check it out!  I have made the Angry Birds Hooded Towel and the Teddy Bear Towel .  She has tons of other tutorials and fun stuff, so be sure to take a look. Anyway, here is what you will need to make the Hello Kitty Towel: 1 full-sized white towel (Target makes a quick-dry one that I really like!) 1 white hand towel Black and yellow felt for eyes and nose Pink felt or ribbon for the bow Basic sewing equipment 1.  Cut your hand towel in half width-wise.  Fold the finished edge under about 3-4 inches and sew.  See this tutorial for more details. 2.  Adhere Wonder Under fusible webbing to back side of felt and cut out eyes and nose.  Iron onto towel according to package directions.  For the pattern, I simply did a Google search for Hello Kitty images.  ...

Guess Whoo? Pillowcase Dress

Image
I saw a similar dress to this on pinterest, and I just had to make one for my niece, Abby, who turned one this month.  I love the pink and green together! For instructions on fabricating a pillowcase dress, see here.   With this dress, I did a few things differently.  I usually put a contrasting border at the bottom of my dress.  Instead, I made the casing at the top using the pink material.  Add 1/2 inch what you want the finished size of the casing to be and sew with 1/4 inch seam to your main fabric.  After finishing the sleeve holes, I folded the top down 1/4 inch farther than the finished seam on the front.  Then I topstitched on the front of the dress right along the seam joining the pink and green fabrics together.  For the owl applique, I used cardstock to draw the pattern I wanted.  See here for my details on my applique technique. The tie is made of fabric.  I cut two 2 1/2 inch strips of pink fabric fr...

Appliqued Rag Blocks

Image
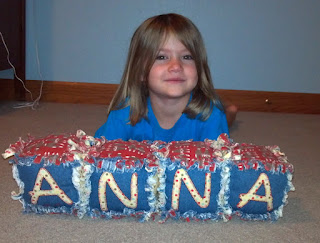
I made these blocks for my daughter, Anna, a couple of years ago.  It was before I started this blog, so I didn't take pictures as I went along.  However, I think I can explain their construction well enough to be able to share this fun idea with you. I got the notion from another site that featured fleece blocks.  I thought it would be neat to do the same thing with flannel and denim and then rag the edges. Here's what you will need for each 4 inch block: 6 six inch squares of coordinating fabric.  I used two denim, two yellow polka dot flannel, and 2 red monkey flannel squares. Additional fabric for the applique. Wonder under to apply the applique. Stabilizer to place under fabric you are going to applique. To make, print 3 inch letters, numbers, or whatever you want to applique on the blocks on cardstock.  I put A N N A on one side of the blocks, and 1 2 3 4 on the other.  Apply wonder under to fabric according...

Powercat Appliqued Hoodie Towels

Image
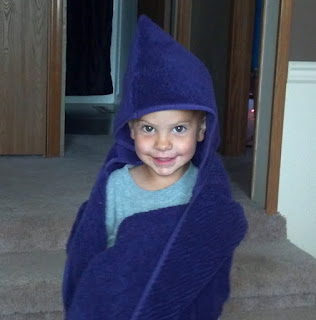
One of my good friends was expecting a third little boy.  She and her husband are big K-state fans, so I decided to make a K-state baby quilt for his arrival.  I wanted to make something for his two big brothers, so I made them hoodie towels and appliqued powercats on them.  I found some great K-state purple towels at Walmart. To see how to sew the towels, look here.   I found a powercat image online and enlarged it to the size I wanted.  I printed off two copies onto cardstock.  I cut out the figures on one copy and then cut out the outline on the other copy to use as a template.  This greatly helped with the spacing. I ironed wonder-under onto my gray fabric and traced the design onto the back.  Don't forget to trace it backwards at this point! I placed my template on the towel and got it centered. Then I placed the pieces inside, carefully removed the template, and ironed the pieces on. I like to place fr...

Monster Appliqued T-shirt

Image
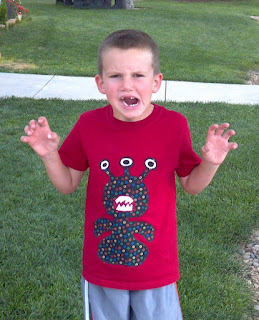
Sometimes it seems like I am making more things for my girls than I am for my boy.  Let's face it, those little dresses are so cute and easy!  So, I was thrilled to find the idea for this monster appliqued T-shirt.  The inspiration for this project goes to my cousin-in-law, Kendall.  She posted a picture on facebook of a T-shirt that she had made for her son (also in Kindergarten).  When I saw it, I knew I had to make one for Evan. Start by drawing your basic design on cardstock.  Then make two copies.  Cut out the body of the monster out of your original drawing, then cut the mouth, teeth, eyes, and pupils out of your copies.  Apply wonder-under to desired fabrics.  Trace the designs backwards onto the paper of the wonder-under and cut out.  Iron on to T-shirt and applique away.  Don't forget to put some tear-away stabilizer on the back of your T-shirt underneath your design. I recommend...

Easy Skirt & Matching Appliqued T-shirt

Image
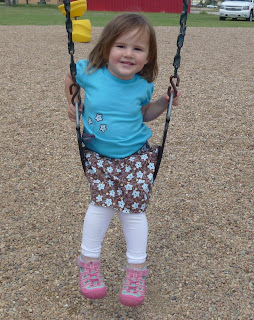
Okay, I'll admit it.  I do not sew to save money.  I sew because I enjoy it, and I don't mind spending some money on my hobby.  However, I actually ended up with a thrifty project, so I had to share it. I found some material on sale at Walmart for $1.00 a yard.  I love brown with the blue, so I had to have it.  I decided to make skirts for my girls using this Simple Skirt Tutorial.   Before finding this tutorial on a friend's blog, I had not made skirts before, but now I have become almost addicted to it.  (Thanks for the link, Kathy!) I discovered some matching blue t-shirts at Walmart, and I decided to spruce them up a little bit.  First, I folded the t-shirt and ironed it to find the middle.  I did not intend on centering my pattern, but I wanted to have an idea of where it was on the shirt.  I aimed for somewhere in the lower left quadrant of the shirt. I applied Wonder Under to the back side of...

Ladybug Applique

Image
I had in my mind an idea to make a ladybug applique, and I finally got it done.  I put this on a hoodie towel as a gift for a little girl.  I think it would also be darling on a pillowcase dress. First, draw your design on cardstock.  Fold the cardstock in half and draw half of an oval.  Then draw an antenna and three legs.  Draw wing and dots.  Cut this out, unfold and draw wing and dots on other side.  Then make two copies.  Cut the wings out of one copy, and the dots out of the other.  You only need three of the dots. Apply Wonder Under to back of fabric.  Trace and cut out the entire pattern and dots in black (or whatever color you want body, antennae, legs, and dots to be).  Cut out wings in pink (or whatever color you want to use.) First place body and iron into place.  Then place wings and iron, then dots and iron. Applique in place.  I used dark pink thread around the wings.  ...