A while back, I found a print that I really loved at Walmart. Best of all, it had three different color variations. I thought, "I'll make a dress for each of my girls!" Little did I know that it would morph into a bigger project than I had imagined. I am really happy with the end result, though. Additionally, I branched into some new territory for me, which was a learning process. I love that it really is not that hard of a dress to make--no buttons, zippers, etc.--but it doesn't look like it was simple!
So, I bought the fabric and decided to make shirred dresses. In the meantime, I found a really cute bolero pattern from another blog. The bolero had a ruffle around it. So, I found some coordinating fabric and made a ruffle to put on the bottom of the dress as well.
I made the dresses and boleros for my almost 8 year old (around a size 10), almost 4 year old (size 4/5) and almost 2 year old (3 T size). They wore them to a wedding last weekend, and I'm thinking I'll have them wear them again for Easter.
First, measure your little girl. Measure from chest to the length you want the dress to be. Then measure how wide you want the dress to be at the chest. For 3T size, I measured 20 inches long and 6 1/2 inches chest. Add one inch to the length for your seam allowance, then subtract the width of your ruffle.
20 inches + 1 inch - 2 5/8 inches = 18 3/8
This is the length of material you will cut to make the body of the dress.
I like to err on the side of being a little long, so I just went with 20 inches.
Add two inches to your chest measurement. (For 3T, 6 1/2 + 2 = 8 1/2 inches) This will take into account that you will shir the material and also cut armholes. Fold the material in half. Put the fold on a line on your cutting mat. (You want 1 1/2 to 2 times the width of fabric you want after you finish shirring.) Angle your ruler from the bottom corner of the dress 8 1/2 inches from the fold. Cut this angle. (For a taller girl, this step is not necessary. I did this for 3T and 4/5 size but not the size 10.)

Now cut armholes. Keeping the material folded, line up the upper outside corner with a line you can measure from. Measure in two inches and down the length that you want your armhole to be. Make marks at these measurements on the fabric. For 3T--3 1/4 inches down. (For size 4/5--3 1/2 inches, for size 10, about 4 inches.) Remember that you can always cut these bigger later if you need to. Draw a J-shaped curve from the places you marked. Pin the material together and cut along your line.
This is what you end up with. Now you are ready to sew. Pin right sides together and sew with 1/4 inch seam allowance down each side. Then zig-zag, overlock stitch, or serge the edges and press.
On the top edge of the dress, press fabric down 1/4 inch, then fold that width again and press. (Find folding template
here about half-way down the page.) Topstitch. Zig-zag, overlock stitch, or serge the bottom edge of the dress.
Now to shir. I found great instructions on shirring
here. Because this fabric was a little heavy, I did increase my stitch length to 4 to get the material to gather a little more. Another solution would be to cut the fabric a little narrower if you think it will not shir as easily. I also did 12 rows for size 10, 10 rows for size 4/5, and 9 for size 3T. In addition, I do not pre-wash my fabric. When you wash and dry the fabric, it shrinks up a little bit more and looks really nice. Shir the top of the dress with as many rows as you like, about 1/4 inch apart.
Now you will either need to make bias tape out of your coordinating fabric or buy some that matches well. I cut 16 inches of fabric. Then fold an outside corner to the opposite edge of the fabric and press. (This gives you a forty-five degree angle.)
Cut down this line. Then cut four 1 3/4 inch strips using this edge as a guide.
Square up the ends so that you have a straight edge.
Place one strip onto another with right sides together and perpendicular to each other. Draw a line from corner to corner as shown.
Sew this line.
Cut off excess fabric and press.
Fold strip in half and press.
Open up fold. Fold each edge to the middle and press. There are gadgets that you can buy to help with this part--I can't believe I don't have one! Then fold in half lengthwise and press.
You will end up with two double fold bias tape straps for the dress.
Fold one strap in half. Open the bias tape up and pin the half-way point at the seam of the armhole. Continue pinning around the armhole.
With the edge of the armhole lined up with the fold of the bias tape, begin to sew from the top of the dress, using approximately a 1/4 inch seam allowance. You want to be sure you are catching the bias tape on the back with the stitching.
Now fold the bias tape over the dress. Starting at the top of the bias tape, topstitch as close to the edge of the bias tape as you can. Backstitch at the start and end of stitching.
Tie straps in bows. I just apply Fray Check to the ends of the straps and tie in a knot. If there is too much length, just cut as needed.
Now for the ruffle. Cut two 6 inch strips from the coordinating fabric. (Or use whatever width you like. It needs to be double the length of the desired finished ruffle plus seam allowances.) Cut off the selvage. Place right sides together and sew each end with a 1/4 inch seam allowance. You will be making a circle of fabric. Fold edges together and press.
I really recommend using an overlock stitch, serged edge, or zigzag stitch on the edge of the ruffle. I did not do this the first time, and it frayed terribly when I tried to gather it! The extra time now is worth it. Then place two rows of gathering stitch--stitch length 5 at 1/4 inch and 1/2 inch seam allowances. For the first ruffle, I just put one row of gathering stitches, and it broke! I had to take it all out and start over. The two rows worked much better for me.
Gather until it is the same size as the bottom of the dress.
Pin to bottom of the dress. I do recommend using lots of pins at this point to help get the fabric to lay well. Also, start pinning at the threads where you have done the gathering--then you can gather a little extra or let some out as needed as you finish pinning.
Sew the ruffle to the bottom of the dress with a 3/8 inch seam allowance. This way you only have to take out one of your gathering stitch rows. Press and topstitch close to the seam. (You will see where in the next picture.)
Now get out the seam ripper and remove the gathering stitches that are still visible. Now the dress is done!
 |
| Finished Dress |
For the bolero, please see
Ruffle Bolero Tutorial. The pattern given there looked to me to be size 18 months at the most. So, I printed out the pattern and enlarged it on my copier.
For 3T--115%
4/5--125%
10--150%
I used my main dress fabric for the bulk of the bolero, and I used the coordinating fabric for the ruffle. I did put the ruffle the entire way around as the tutorial suggests.
To adjust my pattern, I held up the back piece pattern to my girls and folded to adjust size as needed. After I cut it out, I held it up to make sure it was approximately the right size.
I noticed, though, that the front pieces were very long after I enlarged them. I went ahead and cut them out and sewed them on the top part of the back piece. Then I tried it on my girls and marked where to sew the seam on the bottom edge.
I used my straight edge to cut off the extra fabric for each side before sewing it on. Then I measured the length where the ruffle would be sewn on. I cut strips to equal twice this length. (For 3T, had appoximately 30 inches. I cut two 30 inch strips.) I used 4 inch strips of fabric for the ruffle and made it the same way I made the ruffle for the dress.

I must admit, I had never done a sleeve before, and the tutorial's instructions were a little vague. I included my drawing of my sleeve for the 3T size. Sorry about this picture--I thought it was clearer when I took it! I measured how long I wanted the sleeve to be and added 3/4 inch for seam allowance. (This is at the top of the picture. Align this edge on the fold to cut your sleeve.) Then I measured the armhole of the bolero. You want the curved edge to equal half of the armhole measurement plus 1/4 inch for seam allowance. I would draw the edge and then measure; erase, and draw again until I got the desired length. The straight edge (left side of picture) is the outside edge of the sleeve. Measure the circumference of your little girl's arm. Add a mimum of 1 1/2 inches and divide by two. This will be the measurement you use on your pattern. I made the bottom edge of the sleeve 1 7/8 inches. After that, I just cut it out, pinned it on, and prayed that it would work. I did end up with a little extra sleeve material on one of the boleros I made. I recommend that you start sewing at the seam under the arm. If you have to overlap the material a little, it will be well hidden in this area!
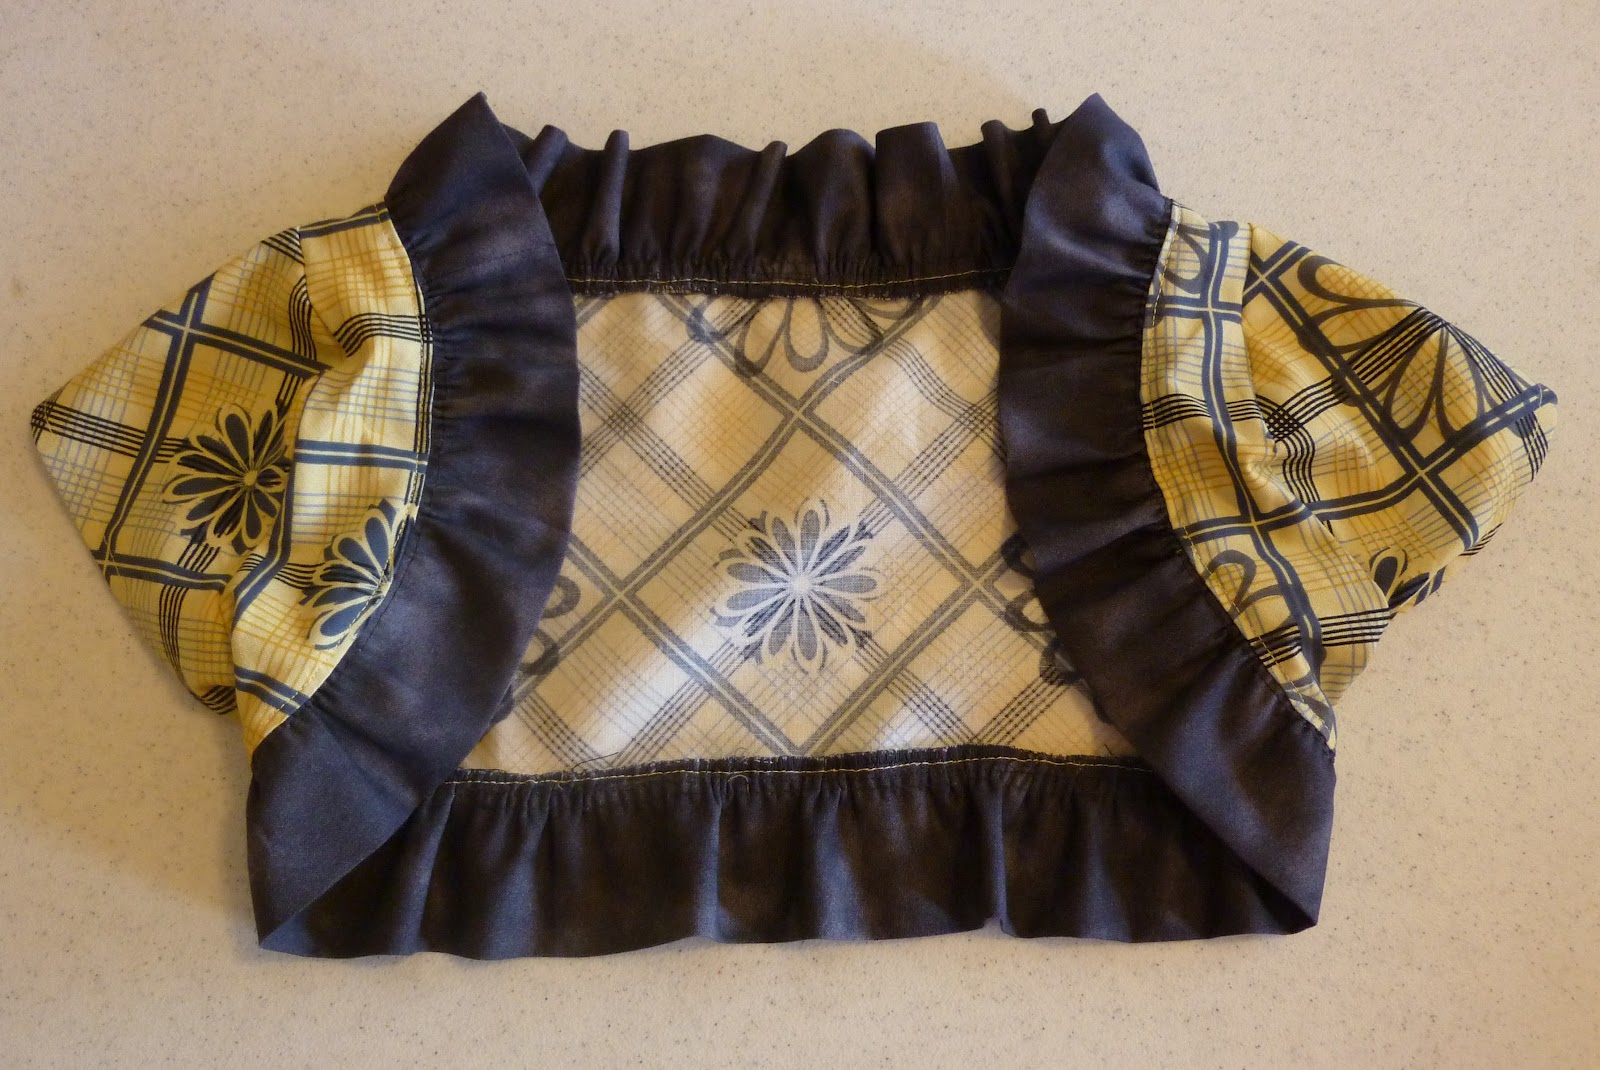
 |
| Finished Bolero |
Then I put it on my littel one and said, "Do your best not to cooperate with getting a picture."
See how well she obeys me?
She was a little more cooperative at the wedding, but she did not keep the jacket on for very long. It ended up being just a little big. If I could go back and start it again, I would make it a little narrower.
I still thought she was pretty cute.
I made matching fabric flowers for their hair as well. See
here for tutorial. I think I did end up using mostly hot glue on them instead of trying to sew them together as shown. I had trouble getting everything to stay pinned together.
At the end of the day, I was happy with how this project turned out. Even my husband commented that they all looked very nice. Hope you have fun with this one, too!


woooow coool thank you so much
ReplyDeletehttp://sewingbreakdown.blogspot.com/
Very cute! I can't wait to try this after I've mastered the pillowcase dress. Thank you so much!
ReplyDelete